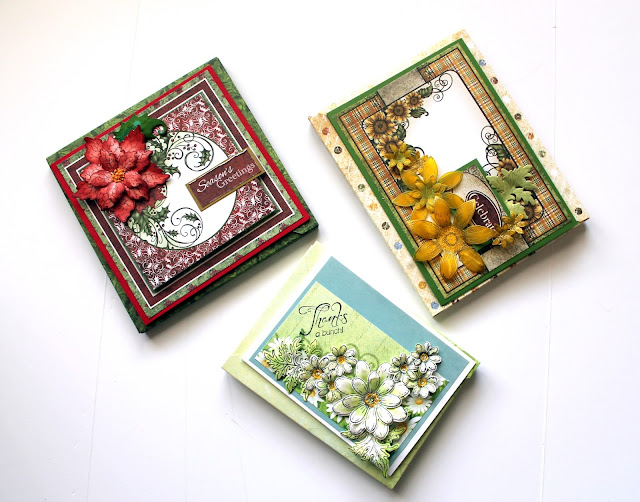
As per the request I am trying to give a simple step tutorial for couple of popular sizes 3D envelopes.
I have already shared these on Heartfelt Creations Blog when I was their DT.
Before I get into tutorial I wanted to give answers of some questions.
- Can I use We R Memory Keeper's Envelope Punch Board?
- We have to have Martha Stewart's or any other scoring board?

- Can we use chipboard or some strong paper?
Alright...lets get started.
I will start with my all time favorite and most requested size - 6x6.
For 6x6 Card Envelope we will need 10 3/8" square paper.
First Score at 3 3/4" and Second Score at 4 1/4"


Turn the paper and repeat the same step for all 4 sides. Then your score lines should look like this. I know I know these are hard to see...but believe me they are there...LOL!!
Now we need to cut two large triangles on the bottom side and two small one of each sides on the top. I have highlighted those for you.
Then your final shape of unfinished envelope will look like this and now if you want you can round the corners.
And if you are using plain cardstock to make basic envelope now this is the perfect time to layer your designer paper ( 4 Triangles and one Square) so your envelope will look pretty and because of the layers it will be more sturdy. Hope it make sense :-)


Then glue the bottom edges of both the sides of the triangles and the small notch and stick carefully. You can use any strong glue or score tape.

Here is your finished 6x6, 3D envelope....wasn't that easy :-)

Ready To Post !!
What do you think?? You can do it right :-) I know you can!!
Measurements for We R Memory Keeper Punch Board Users.
Paper size - 10 3/8" Square
First Punch at 4 7/8" and score
Second Punch at 5 1/2" and Score
Repeat these steps again and fold and assemble your envelope!!
Now time to move to the next requested and most useful size - 5 X 7
For this size we need the same size paper as we used for 6x6 which is 10 3/8" Square.
First Step - Score at 4" and 4 3/8"
Second Step - Turn the paper and score at 3 1/4" and 3 5/8"

Turn the paper and repeat the First Step and Second step so first and second step will be used alternately. Hope you got it.
Now all score lines look like this. You can hold your card in between and check if it fit within all inside lines.
Now please cut the highlighted triangles. Large two from bottom and small two of each sides on top ( as per the picture, it is vice versa ). The purpose of cutting small triangles on top or bottom however you can see your score lines is to get that tiny notch which we need to stick inside so our envelope will be sturdy.
This is the shape you will get before fold and assemble your envelope.
Time to glue now.
This is your final envelope.
I am sure your card will be happy and safe inside :-). This envelope is bit larger then the card. Sometimes our flowers or decoration come outside of the card size so for some wiggly space I created it bit larger than the card size.
One lucky recipient is waiting for this beautiful card !!
Measurements for We R Memory Keeper Punch Board Users.
Paper size - 10 3/8" Square
First Punch at 5 1/2" and score
Second Punch at 6 1/4" and Score
Repeat these steps again and fold and assemble your envelope!!
For 5x5 " Card
Paper size - 9" Square
First Punch at 4 1/8" and score
Second Punch at 4 7/8" and Score
Repeat these steps again and fold and assemble your envelope!!
For 3x4 " Card
Paper size - 6 7/8" Square
First Punch at 3 1/2" and score
Second Punch at 4 1/8" and Score
Repeat these steps again and fold and assemble your envelope!!
For A7 ( 5.5"X7.5" )Card
Paper size - 10 3/4" Square
First Punch at 5 3/4" and score
Second Punch at 6 3/8" and Score
Repeat these steps again and fold and assemble your envelope!!
For 10 X10 " Card there will be whole new tutorial on the blog soon!
Thanks everyone and I really hope this one is helpful to you all.
Please Like, Share and Comment for me!
Love,


